How To Teach Opposites, Colors, And Shapes Together
By The Kids Work Sheets Team · 8/15/2026
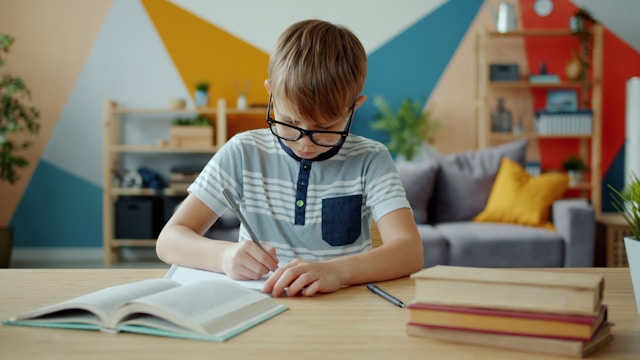
How To Teach Opposites, Colors, And Shapes Together works best when it stays simple enough to repeat. Young children do not need long lessons to make progress. They need short, steady moments where they can practice visual thinking, feel successful, and come back tomorrow ready to try again.
Start with one small goal. Ask your child to sort, compare, describe, and match what children can see. This keeps the activity focused and gives you a clear way to notice progress without turning the moment into a test.
Use materials that make the idea concrete. Household objects, crayons, and matching printables can help children see and feel the skill before they are asked to show it on paper. This is especially helpful for beginners who are still building confidence.
A printable worksheet can be a helpful follow-up after hands-on practice. When children have already touched, counted, sorted, or said the idea aloud, the printed page feels less abstract. It becomes a way to repeat the skill in a quieter format.
Keep the routine predictable. Children often relax when they know what comes next, so it helps to use the same table spot, the same supply basket, or the same time of day for practice.
End with a small success. Name what your child did well, save the page if they feel proud of it, and leave the next step for another day. Over time, these short positive moments build stronger habits and make visual thinking feel much more approachable.